
Lifepod 5 is where every Subnautica playthrough begins, and it is one of the most important locations in the entire game — not just as a starting point, but as a functional base of operations throughout the early and mid-game. Most players leave the lifepod as quickly as possible, eager to explore Planet 4546B and gather resources. That instinct is understandable, but it means missing several features and strategies that can dramatically improve your opening hours. This guide covers the key lifepod functions, storage management, and beginner tips that turn Lifepod 5 from a temporary shelter into an effective early-game hub.
What Is Lifepod 5?
Lifepod 5 is the escape pod that carries the player character — Ryley Robinson — down to the surface of Planet 4546B after the Aurora crashes. It is your starting location, your first safe zone above water, and the first base of operations for everything that follows. The pod itself contains several built-in systems that are easy to overlook if you are not paying attention to your surroundings in the opening minutes.
The lifepod is not just a narrative starting point — it is a functional structure with built-in equipment that remains useful throughout the early game. Understanding what the pod offers before you start planning your first dive sets you up significantly better than treating it as merely the place where you load in and immediately swim away from.
The Fabricator — Your First Crafting Station
The Fabricator inside Lifepod 5 is your primary crafting interface in the early game. It is available immediately from the start of the game and requires no blueprint scanning to use for its initial recipes. The Fabricator menu contains multiple categories — tools, equipment, food and water, and electronic components — and your access to recipes within each category expands as you scan fragments and blueprints during exploration.
New players often open the Fabricator, see only a handful of available recipes, and assume they cannot craft much yet. The reality is that the starting Fabricator can already produce several critical items without any additional scanning — the Survival Knife, Scanner, and various food processing options are available from the very beginning. Taking a minute to review every available recipe in the Fabricator before your first dive tells you exactly what resources you need to gather and in what quantities.
The Medical Kit Fabricator
Separate from the main Fabricator, Lifepod 5 contains a Medical Kit Fabricator. This device produces first aid kits on a timed basis — free healing items generated automatically at regular intervals. Many new players walk past the Medical Kit Fabricator repeatedly without using it, either not noticing it or not understanding what it does.
The Medical Kit Fabricator generates a free first aid kit every few minutes of game time. Collecting these kits before they stack past the fabricator’s storage limit is a simple, free source of healing. Make it a habit to collect from the Medical Kit Fabricator every time you return to the lifepod, and you will almost never need to craft first aid kits manually during the early game. This saves the materials those kits would require for other crafting priorities.
The Radio — Following the Story
The Radio — Following the Story
The Radio in Lifepod 5 is the primary mechanism through which Subnautica’s story unfolds. Radio messages arrive periodically as you play, directing you to investigate distress signals, Aurora systems, and other narrative events. The Radio requires you to be at or near the lifepod to receive these messages — they trigger when you return and time has passed.
New players often miss the Radio entirely in the first session because they are focused on gathering resources and survival. Making a habit of checking the Radio every time you return to the lifepod from a dive ensures you do not miss story triggers or miss opportunities to investigate signal locations while you are already in the relevant area. Subnautica’s story is an important and rewarding part of the experience — the Radio is how you access it.
Built-in Storage — Use It Properly
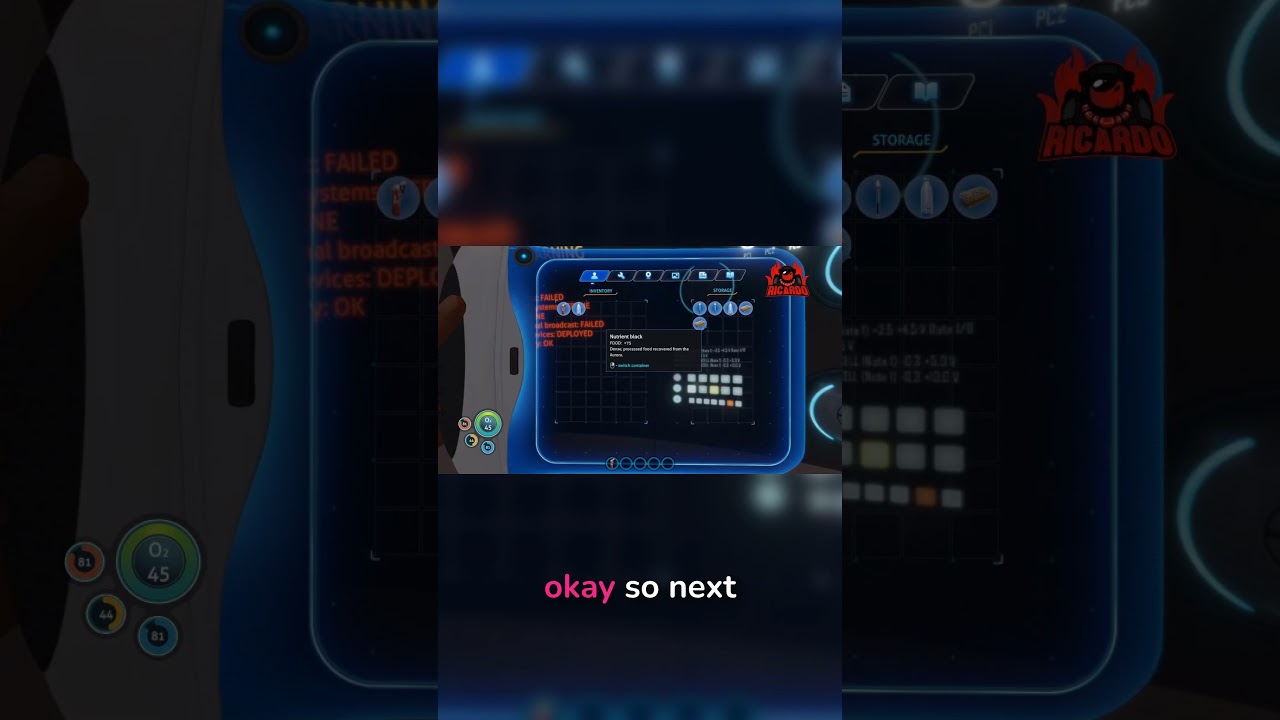
Lifepod 5 has a small amount of built-in storage available from the start. This storage fills up quickly if you are not deliberate about what you put in it. Early in the game, your inventory and the lifepod’s storage are your only places to keep materials, and running out of space is a common frustration for new players.
The most important storage principle in the early game is to keep only what is currently useful and discard or leave materials that you do not have an immediate use for. Salt, coral tube samples, and other materials that accumulate rapidly but have limited immediate use should not be taking up prime storage space. Prioritise Copper, Titanium, Quartz, Silver, and other core crafting materials, and use the Fabricator to process raw materials into tools and equipment as soon as you have enough for a useful item.
Managing Your Inventory vs Lifepod Storage
Managing Your Inventory vs Lifepod Storage
Your personal inventory and the lifepod storage are separate. Your personal inventory is what you carry on dives — it fills up quickly with gathered resources, and a full inventory means you have to surface and return to the pod to deposit materials before continuing. The lifepod storage is your buffer — the holding area for materials between crafting sessions.
The early game becomes significantly smoother once you establish a routine: dive, fill inventory with resources, return to pod, deposit into storage, craft anything that is now possible with what you have gathered, check the Medical Kit Fabricator, check the Radio, then dive again. This loop — gather, deposit, craft, loop — is the fundamental rhythm of Subnautica’s early game, and the lifepod is the hub around which it revolves.
Why the Lifepod Matters Beyond Day One
Many players establish a base away from the lifepod relatively early in their Subnautica playthrough and stop returning to the pod once they have a Habitat Builder and have placed their first habitat module. But the lifepod retains some value even into the mid-game — particularly the Medical Kit Fabricator and the Radio.
If your base is far from the lifepod, consider building a Beacon near the pod to maintain easy navigation back to it. Radio messages require proximity to the pod to trigger in some cases, and missing key story beats because you never return to the starting area is a common issue for players who establish bases far from the crash site early in the game.
The Subnautica experience is shaped by the accumulation of small decisions, and most of those decisions in the opening hours revolve around the lifepod. Treating it as a tool rather than just a starting point makes everything that follows more efficient and more enjoyable.
For more Subnautica guides and tips, visit the Subnautica hub — beginner guides, resource tips, and survival strategies for Planet 4546B. Also check the Subnautica 2 hub for Early Access guides and updates.
📺 Subscribe to Ricardo’s Gaming on YouTube for Subnautica tips, survival guides, and Subnautica 2 Early Access coverage.
Related Guides
- Subnautica Essential Resources Guide — Where to Find Copper, Silver, Quartz and More
- Subnautica Tips and Tricks: 12 Things Every New Player Should Know
- Subnautica Below Zero Full Playthrough: Watch Order Guide
- Subnautica Below Zero Accessibility Guide: Highlight Interactable Items
More Subnautica Guides
- Subnautica Beginner Guide — Your First Two Hours
- Subnautica Tips and Tricks — 12 Things to Know
- Subnautica Story Progression Guide — No Spoilers
- Subnautica Lifepod 5 Tips
- Subnautica Essential Resources — Copper, Silver, Quartz
- Subnautica Resource Guide — Find What You Need
- Subnautica Aurora Crash Site Guide
- Subnautica Leviathan Survival Guide
- Best Subnautica Base Locations
- Seamoth, Cyclops and Prawn Suit Progression
- Subnautica Graphics and Accessibility Settings
- Subnautica vs Below Zero — Which to Play First?
- How to Prepare for Subnautica 2
- Subnautica Hub — All Guides
- Subnautica Below Zero Hub
- Subnautica 2 Hub