
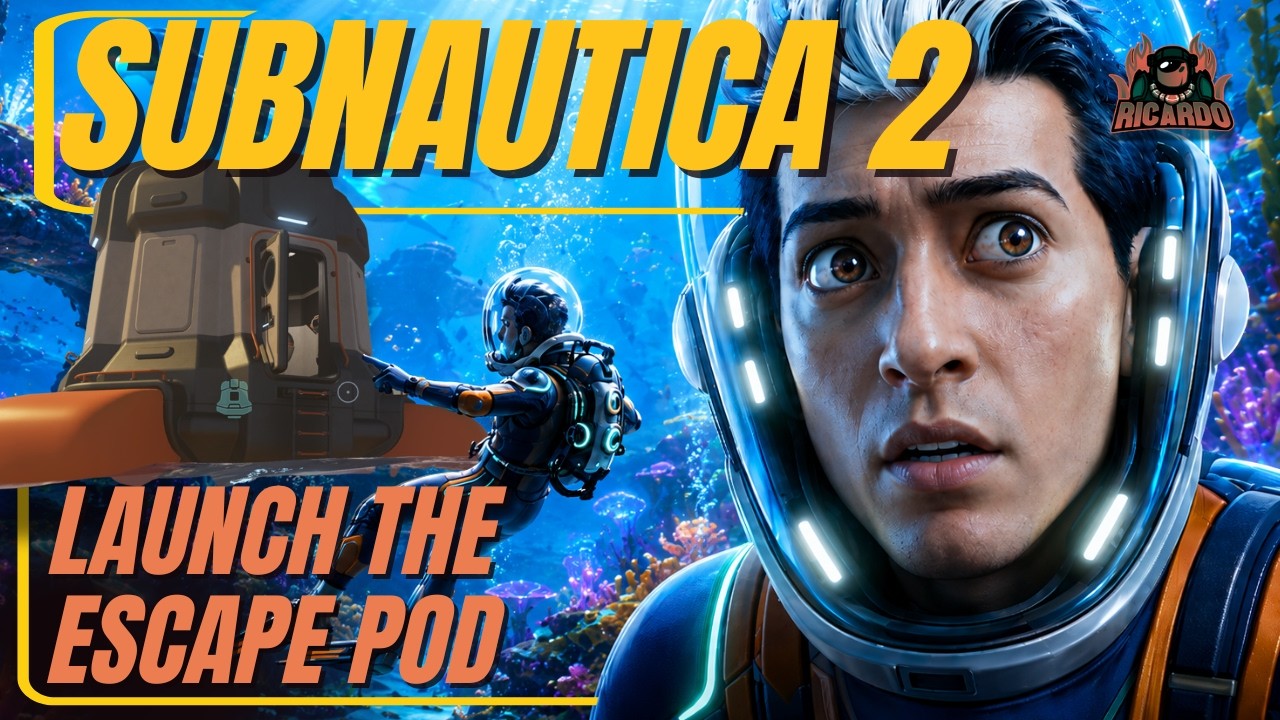

Subnautica’s story is one of the most unique narrative experiences in gaming — told almost entirely through environmental storytelling, audio logs, and the discoveries you make as you explore an alien ocean. There is no quest marker that says “go here to advance the plot.” Instead, the game trusts you to explore, find things, and piece together what happened. For players who enjoy this approach, it is extraordinary. For players who get genuinely stuck and do not know what to do next, it can be frustrating. This guide is a no-heavy-spoiler story progression guide that tells you what to do next without telling you exactly what you will find.
Phase 1: Immediate Survival and Initial Exploration
The first goal is survival: Seaglide, basic food and water solution, Scanner in hand, initial biome exploration around your Lifepod. During this phase, your story trigger is the Radio — listen to every message and follow the first signal to its source. This will lead you to a location with story context and essential blueprint fragments. Do not skip radio messages. They are not optional background noise; they are the game’s narrative beats.
Phase 2: The Aurora and the Radiation Problem
You will notice the Aurora — the crashed ship — radiating a visible contamination effect that damages you if you approach. You need to deal with this eventually, but you must prepare. The Radiation Suit blueprint fragments are in the shallow wreckage fields. Find them, build the suit, and when you are ready, approach the Aurora. Inside the Aurora are essential blueprints and significant story context about why you are on this planet.
Phase 3: Going Deeper — Medium Depth Biomes
After the Aurora, the game opens up significantly. Your next goal is the Seamoth — the small, fast submarine that makes medium-depth exploration viable. Seamoth fragments are in the Kelp Forest and Grassy Plateau wreckage. Building the Seamoth is a major milestone: it dramatically extends your exploration range and enables reaching the first alien structures. Follow signals from your PDA to Alien Architect ruins — these are the next major story layer.
Phase 4: The Alien Facilities
The story’s deepest layer involves the Alien Architect civilisation — their history, their disease research, and the reason their technology is scattered across Planet 4546B. Finding the Alien Facilities requires significant depth capability — both the Seamoth with depth upgrades and eventually the Prawn Suit. The facilities are in the deep biomes: Sparse Reef transitions, the Sea Treader Path, and ultimately the Lost River. Follow the signals from the alien terminal encounters to find each facility in sequence.
Phase 5: The Endgame
The endgame of Subnautica involves the game’s deepest locations — the Lost River and the Inactive Lava Zone. Without spoiling specifics: you will need the Cyclops submarine with depth upgrades, the Prawn Suit with drill arm, and significant resource preparation. The story’s culmination is both mechanical (building a specific structure) and narrative (understanding what the Architects left behind). Take your time with this phase — rushing the endgame robs it of its impact.
What To Do When You Are Stuck
- Read your PDA database entries — new entries often appear after discoveries that point toward the next objective
- Explore a biome you have not fully explored — story fragments are scattered, not concentrated in one area
- Check your radio — a new signal may be waiting that you have not acted on yet
- Go deeper — most story progression requires descending further than you currently are comfortable with
- Watch Ricardo’s Subnautica series on RicardoPlays for stage-appropriate hints without complete spoilers
Story Videos on RicardoPlays
The RicardoPlays channel covers Subnautica’s story with Ricardo’s genuine first-time reactions to each major discovery — the alien ruins, the Leviathans, the story’s revelations. These videos are both entertainment and a practical reference if you are stuck at a specific point in the game. Subscribe for the full Subnautica story series.
🌊 Watch on YouTube
Understanding the PDA: Your Most Important Tool
The PDA (Personal Data Assistant) is the game’s narrative backbone and your primary guide to what to do next. Every significant discovery — a creature scan, a resource found, an alien artefact encountered — adds a new entry to your PDA database. These entries are not just flavour text. They actively guide you toward the next stage of the story by referencing other locations, other creatures, and other discoveries you should be making. Developing the habit of reading every new PDA entry as it appears is the single most reliable way to stay on track without requiring a walkthrough.
Pay particular attention to PDA entries tagged as “Theory” — these are entries where the game’s AI guide speculates about what it has found and often points directly toward a next objective. “The organism appears to be a carrier for a previously unknown bacterium. Further research at the primary Alien Facility may reveal…” is the game giving you a direction without putting a marker on your map.
The Alien Tablet System Explained
Scattered throughout Subnautica’s alien structures are Alien Tablets — purple or orange artefacts that unlock sealed doors and chambers. Purple Tablets unlock purple doors; orange tablets unlock orange doors. Some chambers are only accessible by bringing the correct tablet, and the tablets themselves must be crafted using materials found near or in the alien facilities. Understanding the tablet system in advance saves considerable frustration — players who do not know about tablets often reach locked doors and assume a game glitch rather than a missing resource.
The materials to craft both tablet types are found in substantial quantities near the Alien Facilities themselves, so you are rarely required to grind resources from a remote location. Explore the area around each facility thoroughly and you will generally find what you need to progress.
Key Biome Milestones for Story Progression
Subnautica’s biomes are not just environmental variety — they are structured story progression zones. Understanding which biomes unlock which story elements helps you sequence your exploration correctly:
- Kelp Forest and Grassy Plateau: Seamoth fragments, initial wrecks, first scanner room fragments
- Safe Shallows and Mushroom Forest: Aurora approach preparation, coral tube samples for Seaglide
- Blood Kelp Trench and Sea Treader Path: Ghost Leviathan encounter, deeper progression materials, alien artifact fragments
- Lost River: Contains the Ghost Forest, the Disease Research Facility, and major story lore — requires Cyclops or heavily upgraded Prawn Suit to navigate safely
- Inactive Lava Zone: The penultimate story area — requires maximum depth upgrades on both Cyclops and Prawn Suit
- Active Lava Zone: The endgame area — the final alien facility and the story’s resolution
The vehicle progression guide on this site explains exactly what depth upgrades are needed for each biome and in what order to build the Seamoth, Cyclops, and Prawn Suit. Cross-reference that guide with this story progression guide for a complete, spoiler-light roadmap through the game.
Managing Fear: The Leviathan Strategy
One of the most common reasons players get stuck in Subnautica is not because they do not know where to go — it is because they do know, and the biome they need to enter is terrifying. The Ghost Leviathan in the Blood Kelp, the Sea Dragon Leviathan in the Lava Zone, and the Reaper Leviathans around the Aurora are genuine threats. The correct response is not to level up until you feel ready (there is no levelling in Subnautica) — it is to prepare specifically for each encounter.
For Reaper Leviathans near the Aurora, the Perimeter Defence System on your Seamoth provides an electric shock deterrent that breaks Reaper grabs. For the deeper biomes, the Prawn Suit’s durability makes it more resilient to Leviathan attacks than the Seamoth. The Cyclops in Silent Running mode dramatically reduces creature detection range. Each Leviathan encounter has a specific counter — the Subnautica hub has dedicated creature survival guides for each major threat.
Subnautica Story Tips Summary
- Follow your radio signals — they are not optional background content
- Read every PDA entry — they contain your next objectives disguised as lore
- Go deeper when stuck — 90% of story progression requires descending further
- Build the Seamoth as your first major vehicle milestone
- Scan the Alien Structures thoroughly — each scan adds critical story context
- Do not skip the Aurora — it is a major story location with essential blueprints
More Subnautica Guides
- Subnautica Beginner Guide — Your First Two Hours
- Subnautica Tips and Tricks
- Subnautica Story Progression Guide
- Subnautica Lifepod 5 Tips
- Subnautica Essential Resources — Copper, Silver, Quartz
- Subnautica Resource Guide
- Aurora Crash Site Guide
- Leviathan Survival Guide
- Best Base Locations
- Seamoth, Cyclops and Prawn Suit Progression
- Graphics and Accessibility Settings
- Subnautica vs Below Zero — Which to Play First?
- How to Prepare for Subnautica 2
- Subnautica Hub — All Guides

Hi there, I want to subscribe for this blog to take most up-to-date updates, so where can i do it please help out.