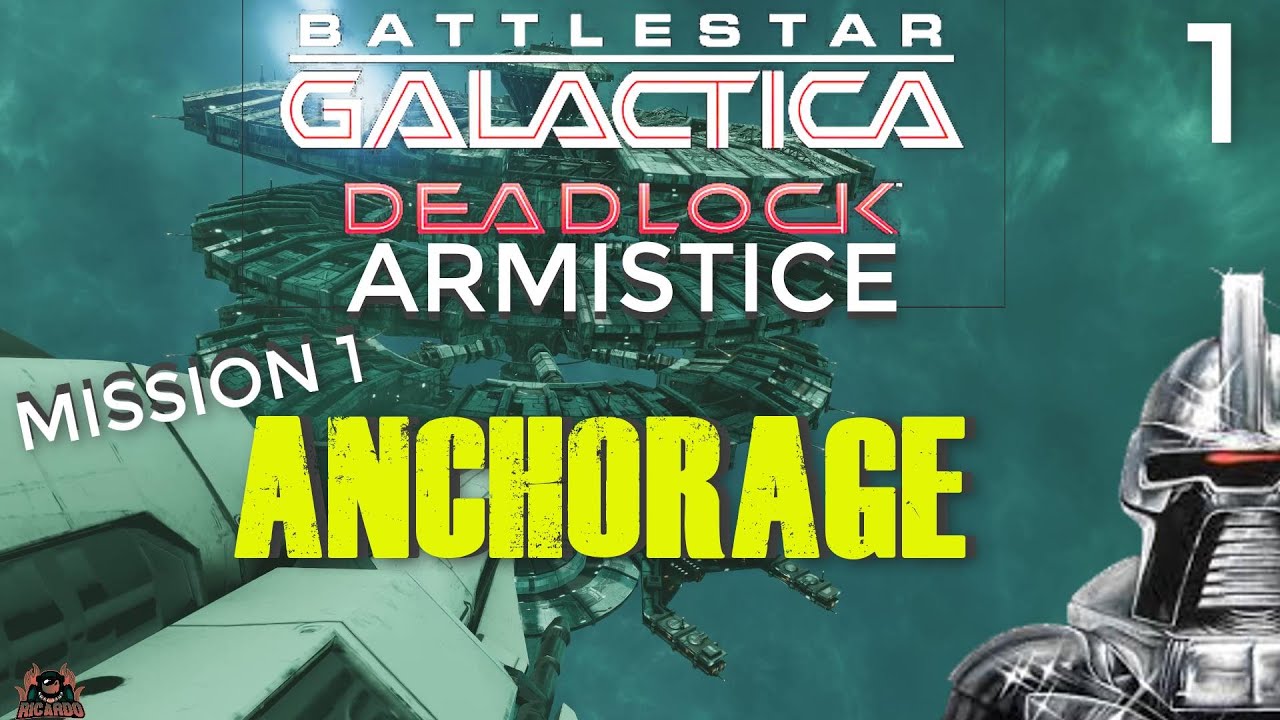

Battlestar Galactica Deadlock is a turn-based tactical strategy game set during the First Cylon War, the conflict that took place forty years before the events of the reimagined Battlestar Galactica television series. You command Colonial Fleet forces across a series of engagements against the Cylon fleet, managing your battlestars, vipers, raptors, and colonial marine divisions through a campaign that tells the story of the war and the commanders who fought it. If you are new to fleet command, or new to tactical strategy games in general, this guide covers the fundamentals that will carry you through the early campaign and set you up for success in the harder engagements ahead.
If you enjoy the tactical, fleet-command side of Deadlock, our sister channel RicardoBeyondRTS covers more real-time strategy and tactics content across games like Starship Troopers: Terran Command — worth a subscribe if RTS and strategy games are your thing.
Understanding the Turn-Based Tactical System
Battlestar Galactica Deadlock uses a simultaneous turn-based system, meaning both you and the Cylon forces issue your orders for the turn, and then the turn resolves — all movements and attacks execute at the same time. This is fundamentally different from alternating turn systems where you act and then the enemy responds. In Deadlock, everything happens simultaneously, which means you need to predict where enemy ships will be at the end of the turn, not where they are at the moment you are issuing orders.
This simultaneous resolution is the core skill of Deadlock mastery. A Cylon Raider that is heading toward your battlestar’s flank will be at a different position by the time your attack resolves. Firing at where it is now will miss. Firing at where it will be — projected forward by the distance it will travel at its current heading and speed — will hit. Developing this spatial reasoning instinct takes a few missions to develop, but once it clicks, your engagement efficiency will improve dramatically.
Your Core Fleet: Battlestars, Vipers and Raptors
The backbone of Colonial Fleet in Deadlock is the Battlestar — a massive capital ship that serves as your flagship and primary weapons platform. Battlestars carry point defence batteries, primary weapons, and launch tubes for Vipers and Raptors. They can take significant damage from Cylon capital ships and Basestar strikes, and losing your Battlestar typically ends the mission. Protecting your Battlestar while positioning it to project force across the battlefield is the central task of every engagement.
Vipers are your fighter spacecraft — fast, aggressive, and effective against Cylon Raiders and smaller craft. They are launched from the Battlestar’s tubes and can be recalled to rearm and repair. Managing your Viper squadrons effectively means rotating them through combat and recovery cycles rather than committing all of them to a single engagement and losing them to sustained Raider fire. Keep a Viper reserve for when unexpected Raider wings appear, and do not let all your fighters be on the field at once without a recovery plan.
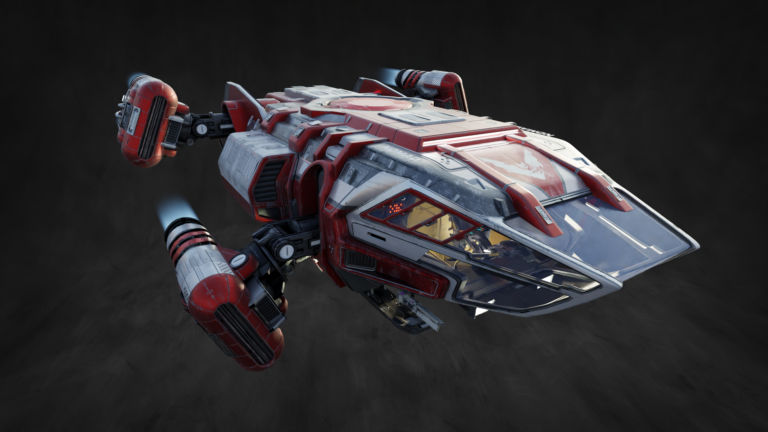
Raptors serve multiple roles in the Colonial Fleet. As recon craft, they reveal Cylon positions across the battlefield. As electronic warfare platforms, they disrupt Cylon targeting and communications. As transport craft, they deploy Colonial Marines for boarding actions against Cylon ships and installations. Understanding which Raptor role is needed for each mission — and carrying the right Raptor variants — is a key strategic decision that affects how each engagement unfolds.
Combat Fundamentals: Range, Positioning and Firing Arcs
Weapon systems in Battlestar Galactica Deadlock have effective ranges and firing arcs. Your Battlestar’s main batteries can only fire in certain directions relative to the ship’s orientation — broadside weapons require the ship to be positioned side-on to the target, while forward batteries fire along the ship’s heading. Managing your Battlestar’s orientation throughout a battle, ensuring your most powerful weapons can engage priority targets, is a continuous tactical challenge that separates good fleet commanders from great ones.
Range matters enormously. Colonial weapons have optimal ranges at which they deal maximum damage, and effectiveness falls off significantly at longer distances. Similarly, Cylon weapons perform better at closer ranges for certain attack types. Understanding the preferred engagement range for your current fleet composition — and maneuvering to maintain that range against a Cylon force that is trying to either close in or maintain distance — determines the rhythm of most engagements.
Point defence is a critical secondary system that activates automatically to intercept incoming missiles, Raider attacks, and other projectiles. Make sure your Battlestar’s point defence arc covers the most likely attack vectors — this means positioning the ship so that the flank with the most point defence coverage faces the highest threat density. Letting Raiders approach from a blind spot on your Battlestar’s defences is how you take unexpected critical damage that changes the outcome of a mission.
Resource Management and Fleet Development
Between missions, you manage your fleet’s development using the resources you earn from successful engagements and campaign objectives. Tylium fuel is used for fleet operations and must be maintained — running low on Tylium limits your strategic options in the campaign layer. Requisition points are used to repair damaged ships, purchase new vessels, recruit crew, and acquire new Viper and Raptor squadrons.
Crew are a resource in their own right. Officers aboard your Battlestars level up through combat experience, gaining specialisations that improve specific ship functions — a weapons officer specialising in accuracy, an engineering officer increasing repair speed, a command officer improving fleet cohesion. Losing crew to ship destruction means losing that accumulated experience, which is a significant setback. Keeping your crew alive by keeping your ships alive is part of the long-term resource strategy of the campaign.
Early Campaign Tips for New Commanders
In the early campaign, the most important habits to develop are: always use your Raptors for reconnaissance before committing your Battlestar to an engagement area — knowing where the Cylons are saves you from ambushes; always maintain a Viper reserve rather than deploying everything at once; always protect your Battlestar’s flanks with either your own fighters or careful positioning to face the point defence arc toward the primary threat direction.
Do not underestimate the Cylon Basestars. They are the equivalent of your Battlestars — capital ships with significant firepower and durability. Engaging a Basestar requires concentrated fire from your Battlestar and support from available fighters and raptors. Attempting to engage multiple Basestars simultaneously without a clear positioning advantage is a mission-ending mistake in most early campaign scenarios.
Explore more Battlestar Galactica Deadlock guides at the Battlestar Galactica Deadlock hub — fleet strategy, mission walkthroughs and commander tips.
📺 Subscribe to Ricardo’s Gaming on YouTube for Battlestar Galactica Deadlock strategy, campaign guides, and sci-fi gaming content.